Connecting to the MPI-P with MobaXterm
Windows 10 Build 1803 and above contain the OpenSSH client. You can change your SSH keys password as described at “Changing the SSH key's password”.
Do not use MobaXterm version 22.0 !!! This version has issues.
1. SSH Session to your Linux Office PC
After starting MobaXterm press the “Session” button in the upper left of the MobaXterm window.
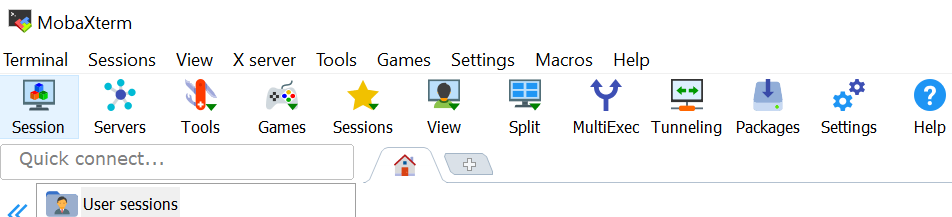
In the window popping up, press the “SSH” button in the upper left.

Figure 1: Choosing “SSH” and setting the PC you want to connect to - In the sesssion settings enter:
- As “Remote host” your PC at the MPIP. If you do not have a Linux PC of your own, please use pclinux1.poly.mpip-mainz.mpg.de.
- Check “Specify Username” and enter your user name at the MPIP (that's the part of your email address before the @ character.
Optional: using an SSH key.

Figure 2: Using a private key to authenticate at your PC If you have added your public SSH key to the
.ssh/authorized_keysfile on your MPIP Linux PC, you can use the SSH key – instead of your password – to authorize yourself to your PC.To use the SSH key you got per mail together with the password for the login server, click the “Advanced SSH-settings” tab below, check “Use private key” and enter the path to your private key on your local computer.
Note: If you haven't added your SSH key you'll get an error message “Server refused key” and will later be asked to enter “USER@127.0.0.1's password” (where 127.0.0.1 is really your Office PC and the password your MPIP password).
- Add the gateway host.
- Click the “Network Settings” tab.
- check “Connect through SSH gateway (jump host)
- MobaXTerm v22.1 and above:
press the large “SSH Gateway (jump host) button”:

Figure 3: Choosing the “SSH Gateway option” Entering the Gateway information:
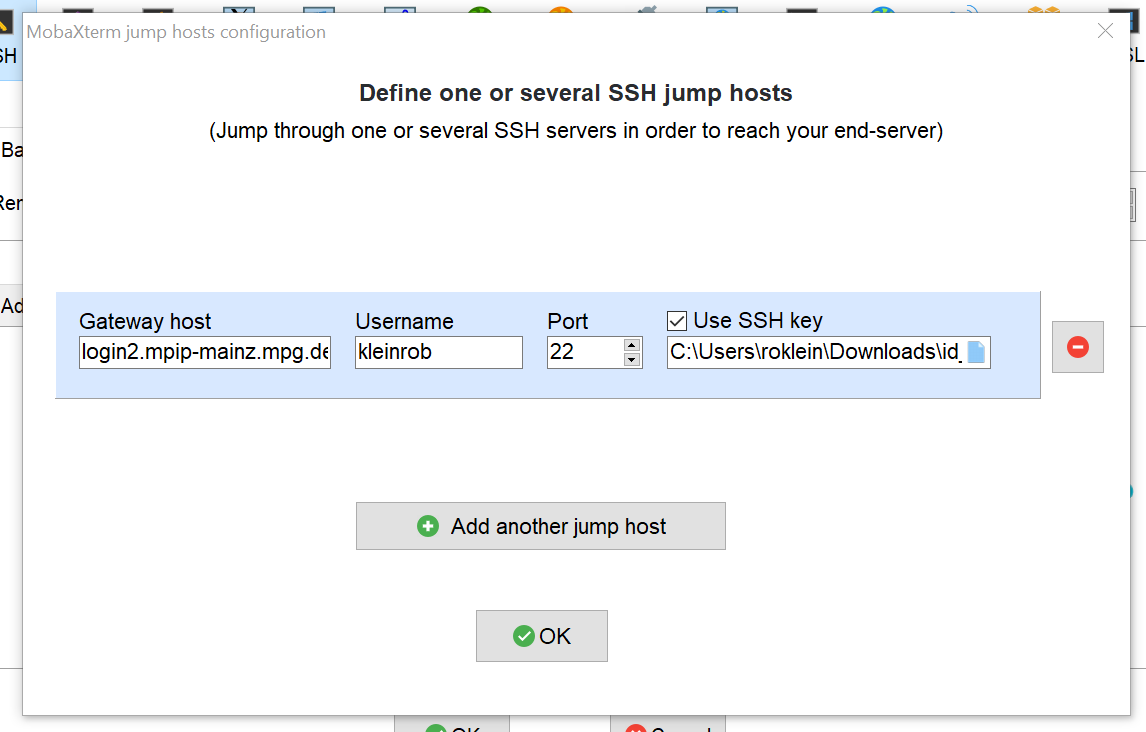
Figure 4: SSH Gateway dialog - Enter “login2.mpip-mainz.mpg.de” as “Gateway host”
- Enter your MPI-P username in the „Username“ field
- Check „Use SSH key“
- Enter the path to your private key on your local computer.
- Click „OK"
- Optional: Check “Use private key” and enter the path to your private key on your local computer.
- Click “Ok”.
At first connection MobaXTerm asks you to accept the server identity. Click “Accept”, here.
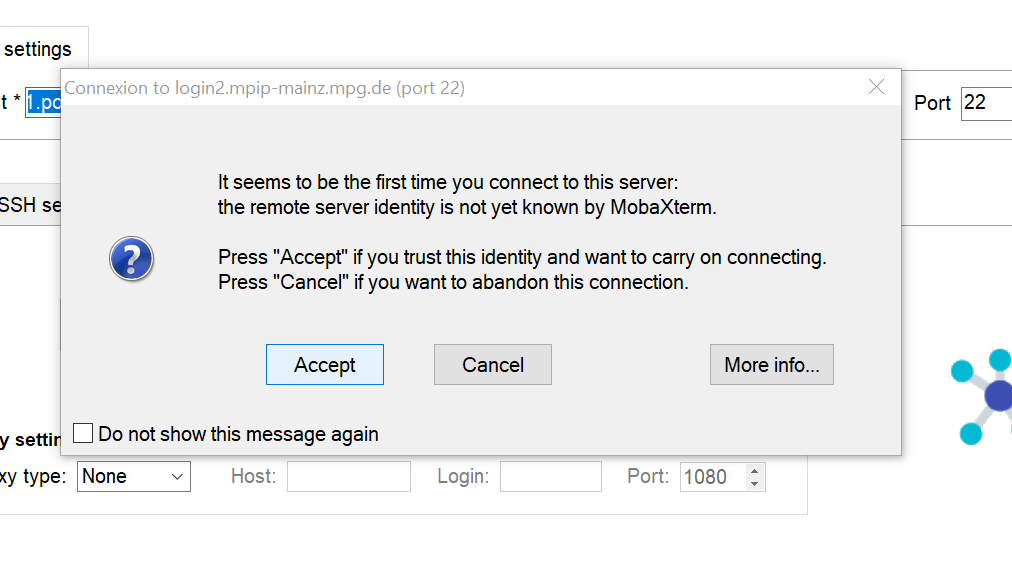
Figure 5: Accrpting srever identity at first connection
When you start a session now, you'll first be asked to enter your SSH keys password. Then you get asked to enter your password on “login2.mpip-mainz.mpg.de”. This is the password you get from the authenticator app on your phone.

Figure 6: Entering the 6-digit password from the authenticator app. Please don't save the password, it'll be invalid in thirty seconds.
2. Establishing a tunnel to your Linux Office PC
Why? you might ask. Perhaps you want to run Jupyter Notebook using the power and disk space available to your Office PC and use the Web interface on your local computer.
Note: Please append the contents of the file
id_ed25519.pub to the file
~/.ssh/authorized_keys on your office PC. The MobaXTerm
tunnel feature apparently can't ask for a password, so you need to use SSH
key authentication.
After starting MobaXterm press the “Tunneling” button in the upper left of the MobaXterm window.
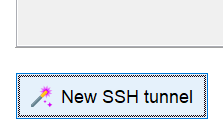
Press "New SSH tunnel in the new window:
In the setup window enter:
- as "Forwarded port” the value “2222” – this is the listening port number of the tunnel on your local computer.
- as “SSH Server” the value “login2.mpip-mainz.mpg.de”
- as “SSH login” Your MPIP user name
- leave “SSH port” empty
- as “Remote server” your computer at the MPIP, e.g. “pclinux1.poly.mpip-mainz.mpg.de”
- as “Remote Port” the value “22”
- Then click the “Save” Button.

In the tunnel overview give your tunnel a name, e.g. “MPIP tunnel”:
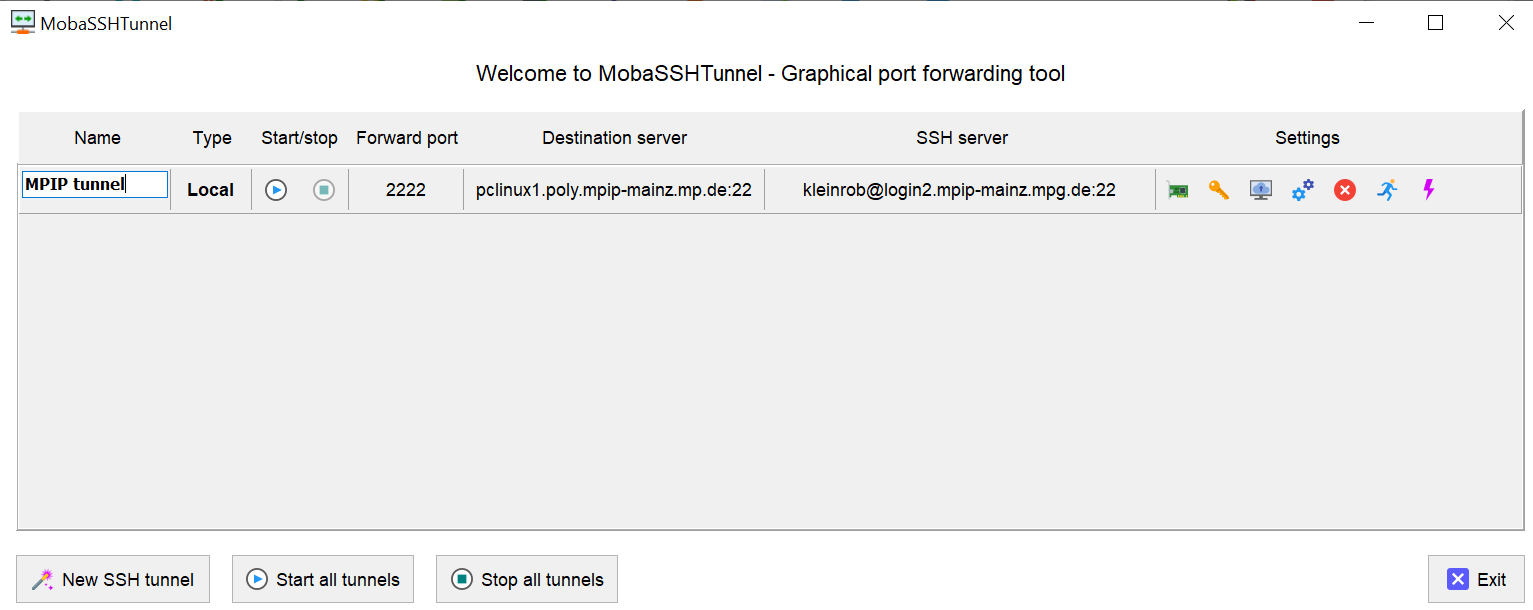
- If you want to use public key authentication, click the key symbol under “Settings” and choose your private key file.
- To Start or Stop the tunnel click on the symbols in the Start/stop column.
Note: You'll have to start a SSH session as described under “SSH Session to your Linux Office PC” first.
3. Copying files
When you have a SSH session open in MobaXterm you'll see your files on the MPIP Office PC to the left of the terminal window. You can drag and drop from there to your local computers explorer and vice versa.
4. Using Jupyter Notebook running on your office PC
Note: If your'e using an office PC not your own, please use another port
number for Jupyter Notebook, so you don't block your colleague's work –
Use for example the last four digits of your numerical Account ID at the
MPIP; see the output of “id -u” and add, for
example 9000. A simple command to get an ID is “echo $(( 9000 + $(id -u) - 1000000))”. Should the number already be in use,
please add another 1000 or 2000. Thank you very much.
First start your Jupyter notebook on your office desktop in an SSH session, my port is 9000:
jupyter notebook --port 9000 --no-browser
Note: it is important for this SSH session to already exist, so the tunnels piggyback on this session and you don't get asked the one-time password again.
- Set up a tunnel as described in “Establishing a tunnel to your Linux Office PC” above and start it.
- Set up a second tunnel using the following values:
- “Forwarded port”: your Jupyter Notebook port, e.g. 9000
- “SSH-Server”: localhost
- “SSH login”: your MPIP user name
- “SSH Port”: 2222
- “Remote Server”: 127.0.0.1
- “Remote Port”: your Jupyter Notebook port, e.g. 9000
- press save give it a meaningful name, e.g. Jupyter@pclinux1
- Start this tunnel, too.
- Now copy your jupyter notebook URL into your local browser and start doing your Jupyter stuff.